mdx 내부 codeblock 스타일링 하기 (feat. rehype-pretty-code)
거무튀튀하고 못생긴 기본 codeblock 대신 예쁜 codeblock을 사용해볼까?
rehype-pretty-code 설치 및 적용
밋밋한 코드 블럭에 드디어 예쁜 스타일을 추가했다.
나는 rehype-pretty-code을 사용했는데, 요 아이를 사용하기 위해서는 다른 라이브러리도 추가로 같이 설치해줘야 한다.
라이브러리 설치 및 설정 파일 수정
> yarn add rehype rehype-pretty-code shikirehype-pretty-code이 rehype와 shiki를 기본으로 만들어졌기 때문에 요 세개 라이브러리를 같이 설치해야 한다. 설치 후 기존 mdx 파일에 적용하기 위해 contentlayer.config.ts에서 플러그인에 추가한다.
(참고: contentlayer 공식문서)
난 highlight.js 대신 rehypePrettyCode를 사용중이었기 때문에 아래와 같이 수정했다.
import remarkGfm from 'remark-gfm';
import rehypePrettyCode from 'rehype-pretty-code';

//...

const rehypeOptions = {
  theme: 'slack-dark',
  keepBackground: true,
};

export default makeSource({
  //..
  mdx: {
    remarkPlugins: [remarkGfm],
    rehypePlugins: [[rehypePrettyCode, rehypeOptions]],
  },
});
📌 참고로 remarkGfm를 사용하면, mdx에서 table이 적용된다!
나는 코드를 위처럼 수정했을 때 codeblock의 스타일이 적용되지 않았다. 이유를 알 수 없어 별의별 쇼를 다 했는데, 나중에 다른 개발자 블로거의 contentlayer 코드를 보니 나의 Post는 contentType이 markdown이었던 것...^^... (allPost의 Post 타입을 확인해보니 body가 Markdown 타입이었다.)
markdown -> mdx로 수정하기 위해 contentlayer.config.ts에서 contentType을 추가했다. (기본값은 markdown인 듯 하다.)
export const Post = defineDocumentType(() => ({
  name: 'Post',
  filePathPattern: `**/*.mdx`,
  contentType: 'markdown',
  contentType: 'mdx',
  fields: {
    title: { type: 'string', required: true },
    description: { type: 'string', required: false },
    tags: { type: 'list', of: { type: 'string' }, required: false },
    date: { type: 'date', required: true },
    isPublished: { type: 'boolean', required: true },
    imgUrl: { type: 'string', required: false },
  },
  computedFields: {
    url: { type: 'string', resolve: (post) => `${post._raw.flattenedPath}` },
  },
}));
기존 코드 수정
contentType을 mdx로 바꾸면 코드를 수정해야 할 부분이 생긴다.
- post의 content는 post.body.html가 아닌 post.body.code에서 가져와야 한다.
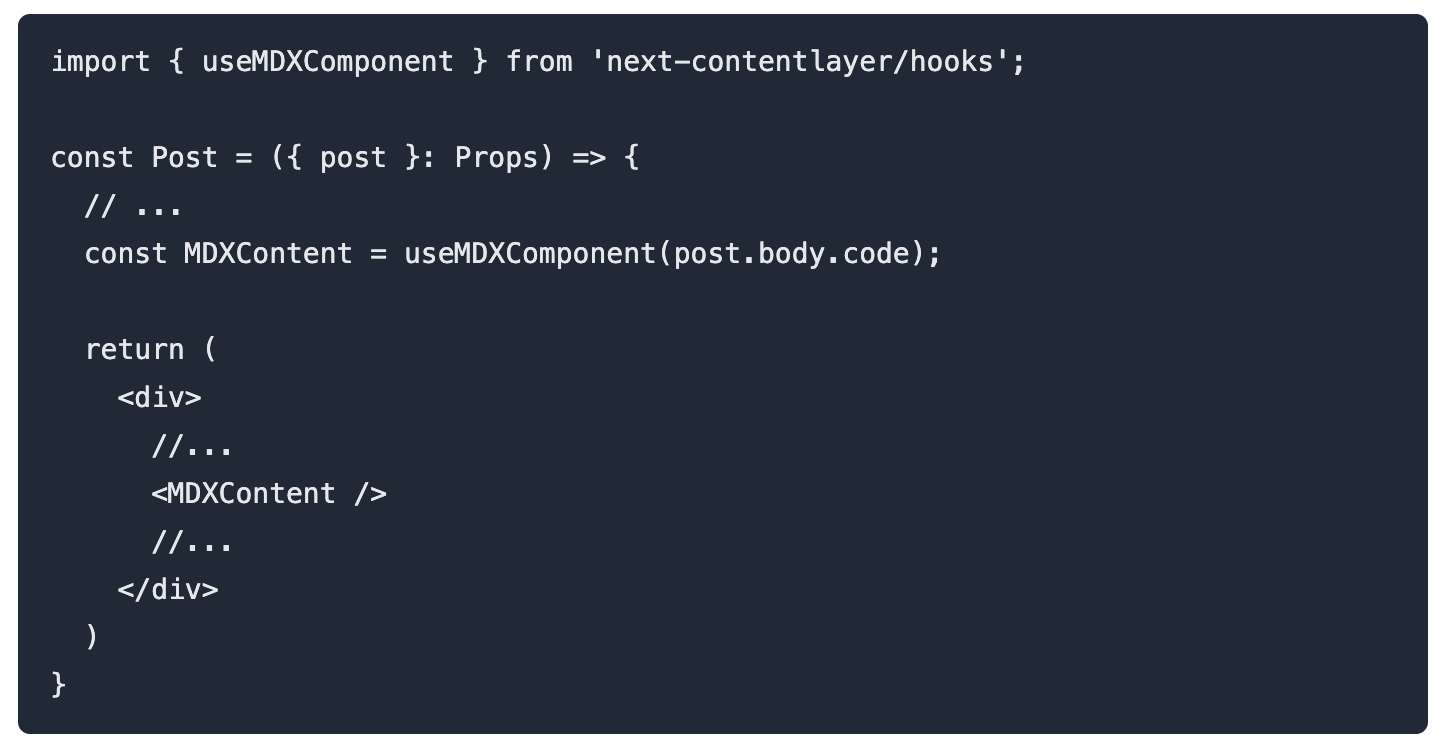
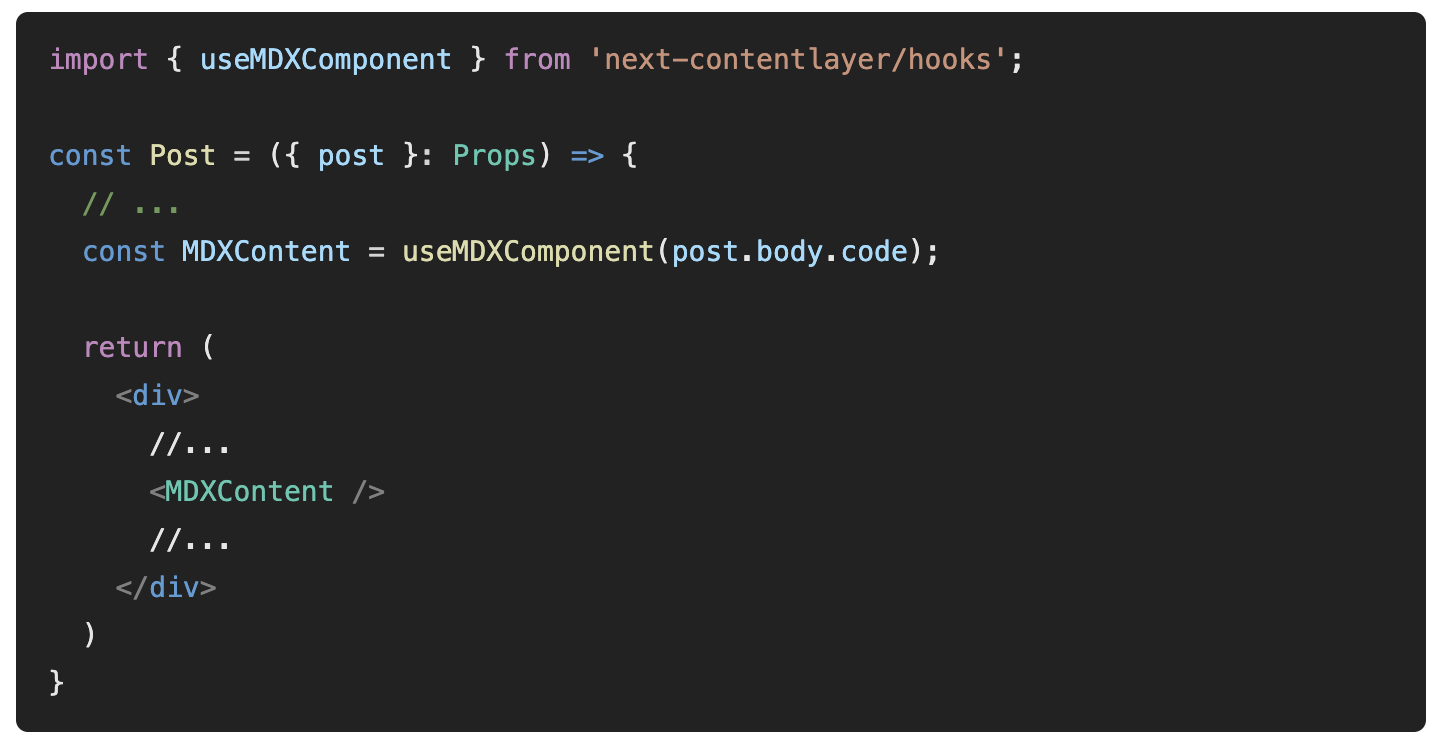
- 이전에는 post.body.html를 일반 <div> 태그 내 dangerouslySetInnerHTML={{_|_html: post.body.html}}에 바로 적용시켰다면 mdx 타입은 아래와 같이
useMDXComponent를 사용해야 한다.
import { useMDXComponent } from 'next-contentlayer/hooks';

const Post = ({ post }: Props) => {
  // ...
  const MDXContent = useMDXComponent(post.body.code);

  return (
    <div>
      //...
      <MDXContent />
      //...
    </div>
  )
}
바뀐 스타일링 확인
rehype-pretty-code 응용
코드 블럭을 작성하면서 rehype-pretty-code에서 제공하는 다양한 기능을 써봐야겠다고 매번 다짐하다가 드디어 관련 내용을 정리하게 됐다.
버전 업데이트
{
  "rehype-pretty-code": "^0.10.0",
  "shiki": "^0.14.3",
}{
"rehype-pretty-code": "^0.13.0",
"shiki": "^1.1.6",
}https://rehype-pretty-code.netlify.app/를 참고하여 관련 내용을 작성했다.
처음 사용했던 버전은 위와 같으며 처음엔 rehype-pretty-code만 최신 버전을 사용했으나 아래와 같은 에러로 인해 원래 버전으로 다시 다운그레이드 했다.
그러나 0.10 버전에서는 특정 라인을 강조하는 기능이 반영되어 있지 않아 최신 버전을 사용해야 했으며, 아래의 에러를 해결하기 위해 rehypePrettyCode의 타입을 any로 강제 주입하여 문제를 임시방편으로 해결했다.
또한, shiki 파일에서 id를 찾을 수 없다는 에러도 발생했는데 이 문제는 shiki를 최신 버전으로 업그레이드 하면서 해결되었다.
Type '(options?: Options | undefined) => void | Transformer<Root, Root>' is not assignable to type 'Plugin<any[], any, any>'. Type 'void | Transformer<Root, Root>' is not assignable to type 'void | Transformer<any, any>'. Type 'Transformer<Root, Root>' is not assignable to type 'void | Transformer<any, any>'. Type 'Transformer<Root, Root>' is not assignable to type 'Transformer<any, any>'.
적용 방법
rehype-pretty-code에서 제공하는 기능은 마크다운 코드 블럭 최상단에 내용을 적으면 동작한다.
백틱 옆에 해당 기능들을 나열하면 작성된 내용들이 파싱되면서 실제 html에 data-rehype-pretty-code-figure, data-language="js" attribute 등이 자동으로 추가된다.
사용자는 이 attribute를 활용하여 자신의 css 파일에 자신이 원하는 스타일을 작성하기만 하면 끝!
📍 참고
버전을 업데이트 하기 전에는 div -> pre -> code 순서대로 태그가 생성되었는데, 현재의 최신 버전에서는 figure -> pre -> code 순서대로 태그가 생성된다.
즉, 이전 버전에서 작성한 css에 div[data-rehype-pretty-code-fragment]처럼 작성 되어있을 경우 스타일링이 반영되지 않을 수 있으니
앞의 태그 선택자는 제외하고 attribute만 작성하여 이후 버전 업데이트에서도 태그 변경에 쉽에 대응하도록 하자.
(물론 attribute명이 바뀔 경우엔 attribute도 다 바꿔야한다.)
기본 설정
https://rehype-pretty-code.netlify.app/#styles에 작성된 기본 설정을 먼저 추가해주자.
rehype-pretty-code에서 사용하는 스타일이기 때문에 나는 앞에 추가로 data-rehype-pretty-code-figure attribute를 추가했다.
[data-rehype-pretty-code-figure] pre {
  overflow-x: auto;
  padding: 1rem 0;
}

[data-rehype-pretty-code-figure] [data-line] {
  padding: 0 1.5rem;
}
제목 title="..."
title="..."를 작성하면 data-rehype-pretty-code-title attribute를 갖는 <figcaption> 태그가 생성된다.
이 attribute를 바탕으로 css에 자신이 원하는 스타일을 작성하기만 하면 된다.
나는 제목과 코드 블럭에 border와 radius를 주었고 위에서 설정했던 [data-rehype-pretty-code-figure] pre에 border와 margin도 추가 작성했다.
방법
```js title="제목 넣기"
  // do sth
```
결과
// do sth실제 코드
<figure data-rehype-pretty-code-figure>
  <figcaption data-rehype-pretty-code-title data-language="js" data-theme="slack-dark">
    제목 넣기
  </figcaption>
  <pre data-language="js">...</pre>
</figure>[data-rehype-pretty-code-figure] pre {
overflow-x: auto;
padding: 1rem 0;
border: 1px solid #8b8b8b;
margin-top: 0;
}
[data-rehype-pretty-code-title] {
font-size: 0.9rem;
font-weight: 500;
padding: 0.4rem 1rem;
border: 1px solid #8b8b8b;
border-top-left-radius: 0.4rem;
border-top-right-radius: 0.4rem;
border-bottom-style: none;
}
[data-rehype-pretty-code-title] + pre {
border-top-left-radius: 0;
border-top-right-radius: 0;
}
.dark [data-rehype-pretty-code-title] {
/* 다크모드 설정 관련 */
}라인 넘버 부여 showLineNumbers
showLineNumbers를 작성하면 코드 블럭 왼쪽에 번호가 생기며 이 번호들은 [data-line] 태그에 before 가상 선택자가 추가되어 보여지게 된다.
https://rehype-pretty-code.netlify.app/#line-numbers에 css 작성 방법이 나와있는데
홈페이지에 나와있는 설정을 그대로 사용하면 showLineNumbers를 입력하지 않아도 모든 코드 블럭에 라인 넘버가 부여된다.
때문에 나는 숫자는 증가하되 showLineNumbers를 입력했을 때만 숫자가 보이도록 css를 수정하고 스타일링도 수정했다.
방법
```js showLineNumbers
// line 1
// line 2
// line 3
```
결과
// line 1
// line 2
// line 3
실제 코드
<figure data-rehype-pretty-code-figure>
  <pre data-language="js">
    <code data-line-numbers data-language="js">
      <span data-line>
        ::before
        <span>// line 1</span>
      </span>
      <span data-line>...</span>
      <span data-line>...</span>
    </code>
  </pre>
</figure>[data-rehype-pretty-code-figure] code {
counter-reset: line;
}
[data-rehype-pretty-code-figure] [data-line]::before {
counter-increment: line;
}
[data-line-numbers] > [data-line]::before {
content: counter(line);
display: inline-block;
width: 1rem;
margin-right: 1rem;
text-align: right;
color: gray;
}
[data-line-numbers-max-digits='2'] > [data-line]::before {
width: 1rem;
}
[data-line-numbers-max-digits='3'] > [data-line]::before {
width: 2rem;
}특정 라인 넘버 부여 showLineNumbers{n}
showLineNumbers만 사용하면 첫번째 라인은 1부터 시작하는데 뒤에 특정 숫자를 입력할 경우 해당 숫자부터 시작된다.
방법
```js showLineNumbers{9}
// line 1
// line 2
// line 3
```
결과
// line 1
// line 2
// line 3
라인 강조 {n}
특정 라인만 강조하고 싶을 때 {n}을 작성한다. 그러면 해당 라인에 data-highlighted-line attribute가 추가되는데,
이 attribute에 원하는 스타일을 작성하면 된다.
만약 여러 라인들을 강조하고 싶을 경우 {1-2}, {1, 2}, {1} {2}등의 방법을 사용하면 된다.
방법
```js {2}
// line 1
// line 2
// line 3
```
결과
// line 1
// line 2
// line 3
실제 코드
<figure data-rehype-pretty-code-figure>
  <pre data-language="js">
    <code data-line-numbers data-language="js">
      <span data-line>...</span>
      <span data-line data-highlighted-line>...</span>
      <span data-line>...</span>
    </code>
  </pre>
</figure>[data-highlighted-line] {
background-color: #b3c0de40;
}커스텀 라인 강조 {n}#id
깃허브에서 PR 생성 후 Files changed를 보면 추가된 라인은 + 초록색, 제거된 라인은 - 빨간색으로 라인이 강조되어 있다.
이전에는 특정 라인에서 코드 옆에 주석으로 // ✨를 작성하여 해당 라인에서 변화가 있다는 것을 설명하곤 했는데,
이 기능을 도입하면서 위와 같은 번거로움을 해결할 수 있다. 🥲
이처럼 여러 라인을 다양하게 강조할 때는 특정 라인에 id를 부여하여 각 id마다 다른 스타일을 줄 수 있다.
방법
```js {2}#minus {3}#plus
// line 1
// line 2
// line 3
```
결과
// line 1
// line 2
// line 3
실제 코드
<figure data-rehype-pretty-code-figure>
  <pre data-language="js">
    <code data-line-numbers data-language="js">
      <span data-line>...</span>
      <span data-line data-highlighted-line data-highlighted-line-id="minus">...</span>
      <span data-line data-highlighted-line data-highlighted-line-id="plus">...</span>
    </code>
  </pre>
</figure>[data-highlighted-line-id='minus'] {
position: relative;
background-color: #fcdcdc;
}
[data-highlighted-line-id='minus']::before {
content: '-';
position: absolute;
top: 0;
left: 0;
font-weight: 500;
padding-left: 0.3rem;
color: #834444;
}
[data-highlighted-line-id='plus'] {
position: relative;
background-color: #3c6c49;
}
[data-highlighted-line-id='plus']::before {
content: '+';
position: absolute;
top: 0;
left: 0;
font-weight: 500;
padding-left: 0.3rem;
color: #43ac5c;
}단어 강조 /word/
특정 단어의 추가, 삭제, 변경 등을 알려주고 싶을 때 /word/를 사용하여 단어만을 강조할 수 있다.
강조하고 싶은 단어를 word에 적으면 data-highlighted-chars attribute가 추가되고 단어가 강조된다.
해당 단어가 여러 개 존재할 경우 디폴트로 해당 단어가 모~두 강조되는데, 만약 딱 한 개만 강조하고 싶을 경우 단어의 순서를 뒤에 적어주면 된다.
방법
```js /apple/ /banana/ /on/1
const word = "apple banana orange banana pineapple melon lemon";
```
결과
const word = "apple apple apple banana orange banana pineapple melon on on lemon on";